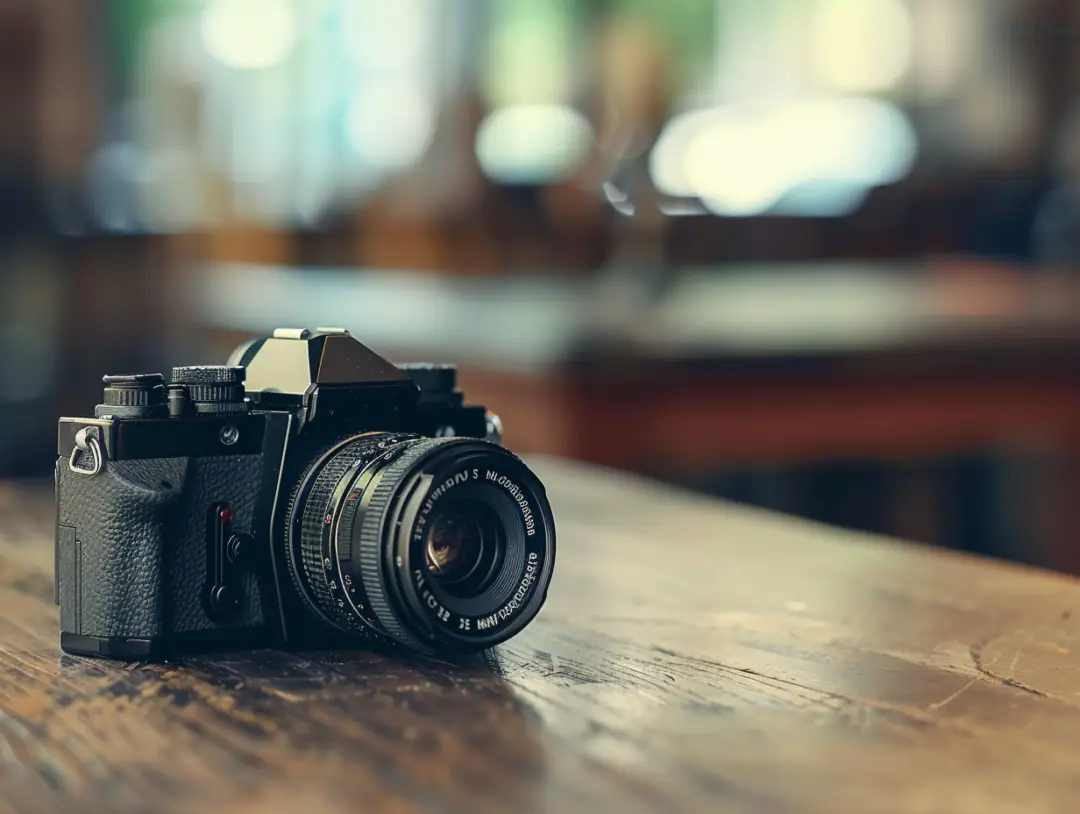
Using a point and shoot camera may not seem like an option to most photographers that take their photography seriously. After all, point and shoot cameras are just for taking snapshots, right?
Well, that’s true, to a certain extent. But, they can be a great tool as well.
Using a Point and Shoot Camera – Good Results Fast
Now, I’m not going to tell you that you can take better photos using a point and shoot camera than you can with a DSLR. But, I’m not going to tell you that you can’t take good photos using a point and shoot camera either.
If a point and shoot has an aperture priority, shutter priority, or a manual shooting mode, you will have some pretty good control over what the photo will look like. But, even if it doesn’t have custom shooting modes, you can still get favorable results. After all, there are groups of photographers that pride themselves on getting great photos using only their cell phone cameras.
There are a couple of ways that using a point and shoot camera has an advantage over a DSLR. Size and weight. You can carry a point and shoot in your pocket. You can very easily and quickly frame up you shot, take the shot, and slide the camera back in your pocket.
Using a Point and Shoot Camera – Sketchbook
One very creative technique to use when using a point and shoot camera is to use it as a sketchbook. What do I mean?
Well, as mentioned above, it’s much easier to carry a small point and shoot camera with you. Let’s say you see something that you think would make a great photograph. But, for whatever reason, you don’t have your DSLR with you. Take the photo with the point and shoot. This photo will be your sketch. Use it as a record of the subject or place you shot the photo of. It’s a reference. You can then plan on going back and shooting the photo with your DSLR.
Using a point and shoot camera in this way actually frees us up. Sometimes, we can become weighed down with all of the things our DSLR will do. When using a point and shoot camera, you just….well….point and shoot! Don’t worry about the exposure. Just set the camera to the auto mode and shoot.
You can then go through the shots you got with it, and plan which ones you want to go back to shoot with your DSLR. Try to look at your point and shoot shots as rough sketches to be fine tuned with your DSLR later. That’s why I call this technique a point and shoot sketchbook.
Take shots of the area surrounding where you want to shoot. Take several shots, framing your subject a little different each time. This is a very good technique to use, especially if you don’t have a lot of time. You can then go home and study the shots you took with your point and shoot camera. Decide which compositions you like best. Decide what lens you’ll want to use. What angles gave you the best shots? What would be the best time to return to get the shot you want? You can make these decisions based on the point and shoot photos you took. Then, you can return with your DSLR and get the shots you want.
So, grab your point and shoot, or your cell phone for that matter. Find interesting angles. Experiment. Remember, you’re just taking sketches.


2 thoughts on “Using a Point and Shoot Camera”
Good post! I think that is a great idea to use it as a “sketch”. Thanks for writing this up!!
(I found you through PictureCorrect!) 😀
Hi Rebecca! I’m glad you liked the post! Being an artist, I have lots of sketchbooks that I draw in. I take the sketches that I like, and I use them to make final drawings. So, using a point and shoot camera as a sketchbook kind of comes naturally to me. I just wanted to share with others. 🙂